- Published on
How to install n8n on a VPS using Docker
Author
Sithira Senanayake

How I Installed n8n on a VPS Using Docker
In this post, I’ll walk you through how to install n8n, the popular open-source automation tool, on a VPS using Docker, PostgreSQL, and optional reverse proxy with CyberPanel or Nginx.
✅ Step-by-Step Guide to Install n8n with Docker
🛠️ Step 1: Create a Docker Network
This lets your containers communicate securely. It's recommended to use a shared external network if you're also using Nginx Proxy Manager or CyberPanel.
docker network create shared-web-network
If you're using an Nginx reverse proxy (like Nginx Proxy Manager), make sure all relevant containers join the same network.
🛠️ Step 2: Set Up PostgreSQL Container
While n8n can work with SQLite, using PostgreSQL is more robust for production setups. Theresfore I will use Postgres for this setup.
Create a new directory for the PostgreSQL service:
mkdir postgres && cd postgres
Create a docker-compose.yml file:
nano docker-compose.yml
Paste the following (customize credentials and names as needed):
version: '3.8'
services:
  postgres:
    image: postgres:15
    container_name: postgres
    restart: always
    environment:
      POSTGRES_USER: POSTGRES_DB_USERNAME
      POSTGRES_PASSWORD: POSTGRES_DB_PASSWORD
      POSTGRES_DB: POSTGRES_DB_NAME
    volumes:
      - postgres_data:/var/lib/postgresql/data
    networks:
      - shared-web-network
    ports:
      - '5432:5432'

volumes:
  postgres_data: {}

networks:
  shared-web-network:
    external: true
Make sure to define the container name, database username and password, database name, and Docker network:
Bring up the container:
docker-compose up -d
🛠️ Step 3: Set Up n8n Container
Create a new directory for n8n:
cd ..
mkdir n8n && cd n8n
Create a docker-compose.yml file:
nano docker-compose.yml
Paste the following (again, modify as needed):
version: '3.8'

services:
  n8n:
    image: n8nio/n8n
    container_name: n8n
    restart: always
    ports:
      - '5678:5678'
    environment:
      - N8N_HOST=n8n.sisenlabs.com
      - N8N_PORT=5678
      - N8N_PROTOCOL=https
      - NODE_ENV=production
      - WEBHOOK_URL=https://n8n.sisenlabs.com/
      - N8N_EDITOR_BASE_URL=https://n8n.sisenlabs.com/
      - N8N_ENFORCE_SETTINGS_FILE_PERMISSIONS=true
      - N8N_RUNNERS_ENABLED=true
      - N8N_SECURE_COOKIE=false
      - N8N_TRUST_PROXY=true
      - N8N_BASIC_AUTH_ACTIVE=true
      - N8N_BASIC_AUTH_USER=YOUR_USERNAME
      - N8N_BASIC_AUTH_PASSWORD=YOUR_PASSWORD
      - DB_TYPE=postgresdb
      - DB_POSTGRESDB_HOST=postgres
      - DB_POSTGRESDB_DATABASE=POSTGRES_DB_NAME
      - DB_POSTGRESDB_USER=POSTGRES_DB_USERNAME
      - DB_POSTGRESDB_PASSWORD=POSTGRES_DB_PASSWORD
      - DB_POSTGRESDB_PORT=5432
    volumes:
      - n8n_data:/home/node/.n8n
    networks:
      - shared-web-network

volumes:
  n8n_data: {}

networks:
  shared-web-network:
    external: true
Start the container:
docker-compose up -d
Now n8n should now be running on http://[your-vps-ip]:5678.
🔐 Step 4: Reverse Proxy with Nginx
I recommend using Nginx for the reverse proxy instead of CyberPanel. In my experience, CyberPanel frequently causes WebSocket-related issues, resulting in repeated “Connection failed” errors in n8n.
To set up the reverse proxy using Nginx Proxy Manager:
-
Point your subdomain (e.g.,
n8n.yourdomain.com) to your VPS's IP address. -
Open Nginx Proxy Manager and create a new proxy host with the following settings:
-
Enable the following options:
- ✅ Cache Support
- ✅ WebSocket Support
- ✅ Block Common Exploits
- Add a new SSL certificate (e.g., using Let's Encrypt) and enable Force SSL Redirect.
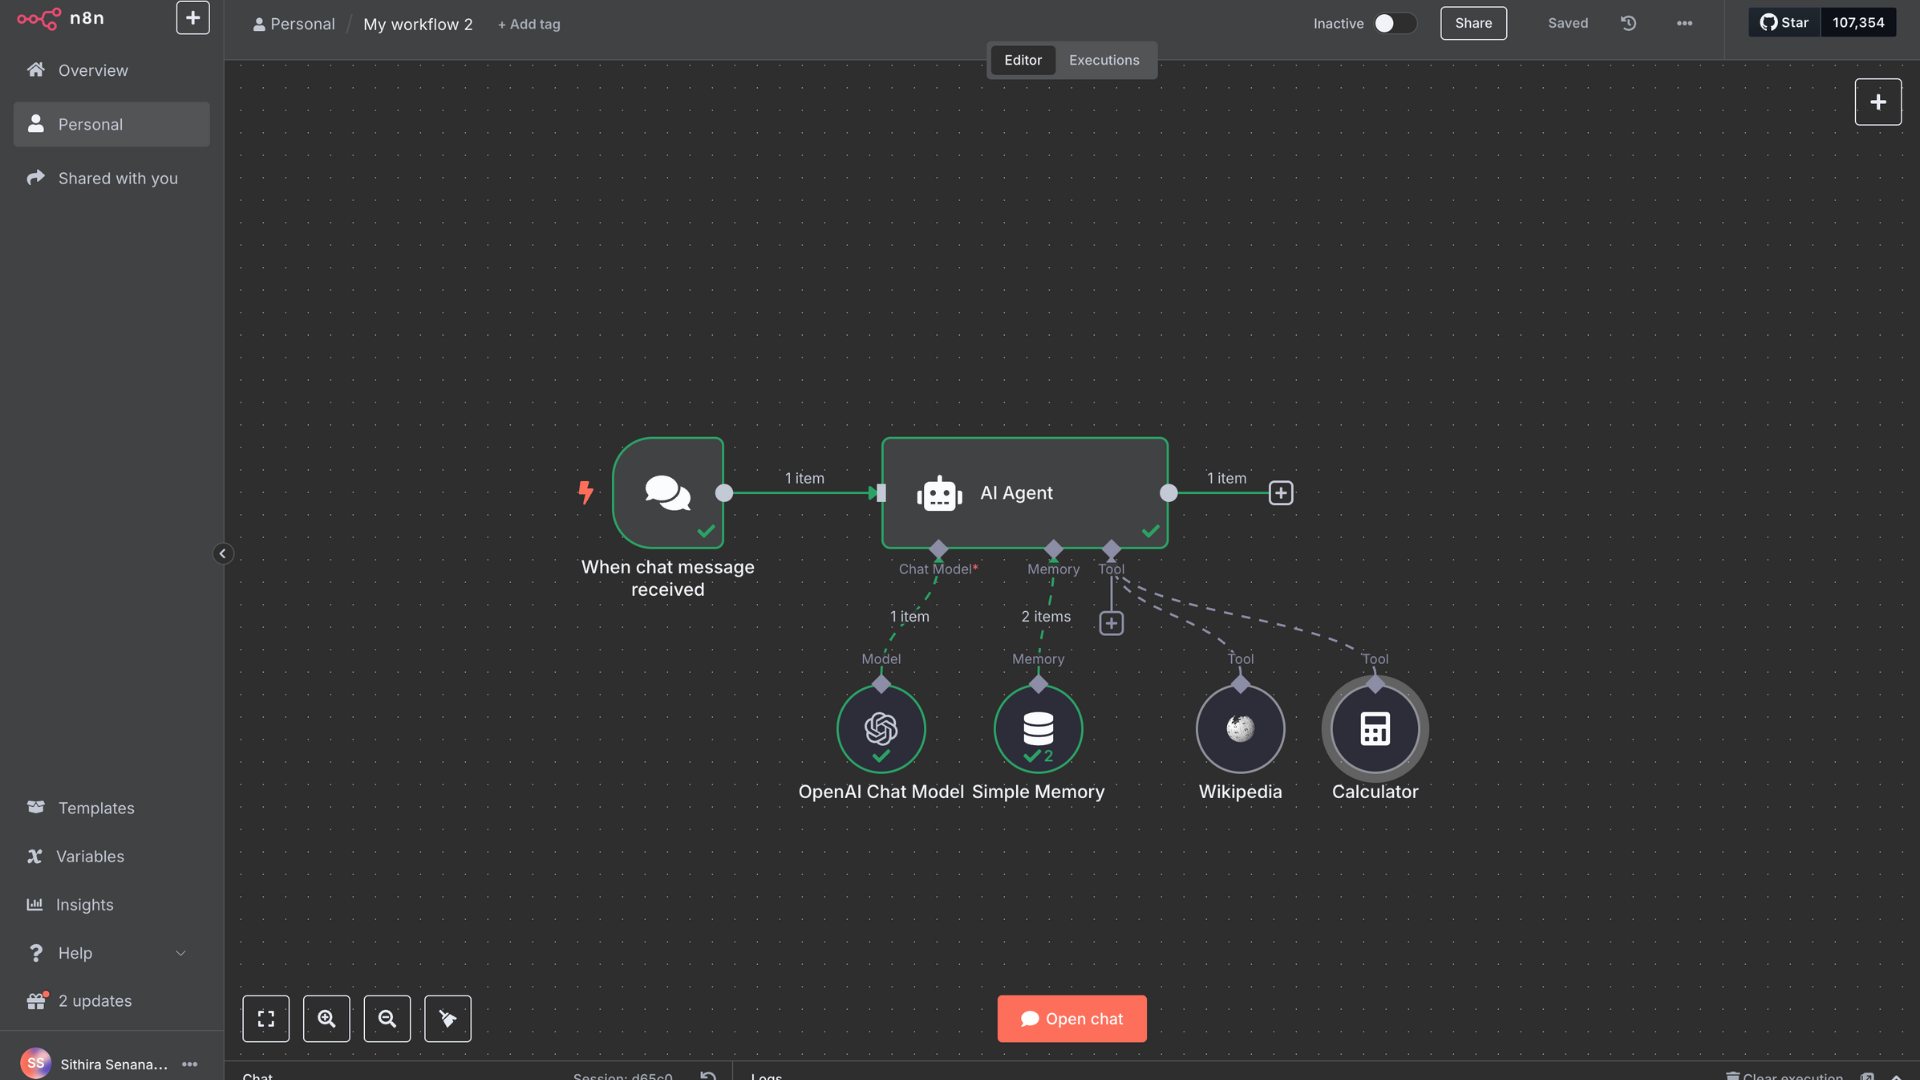
✅ Final Result
n8n is now accessible at:
https://n8n.yourdomain.com- Authenticated using the credentials from your n8n
docker-compose.ymlfile.
I’ll be sharing more n8n tutorials and cool projects to build with n8n in the future. Until then, if you need help automating SSL setup or configuring Nginx for your stack, just let me know!